

Product Description
Approximate lead time: 2-3 days. If for any reason this product is currently out of stock one of our team will give you a call to discuss expected lead times.
Downloads
Specification Sheet (PDF)Product Variations
| Model | Blade Width (mm) | Weight (kg) | C of G (mm) | LLC (mm) | Price | Qty |
|---|---|---|---|---|---|---|
| ISP-1-ADJ | 1250 | 135 | 950 | N/A | Call/Enquire for prices | |
| ISP-2-ADJ | 1500 | 158 | 1010 | N/A | Call/Enquire for prices | |
| ISP-3-ADJ | 1800 | 170 | 1030 | N/A | Call/Enquire for prices |
- Operation
- Maintenance
- Health & Safety
- Relevant Applications
Operation
Operation
1. Position the forks to the correct distance apart to locate into fork pockets.
2. Drive forks fully into fork pockets.
3. Tighten thumb screws ensuring that they are adequately tightened.
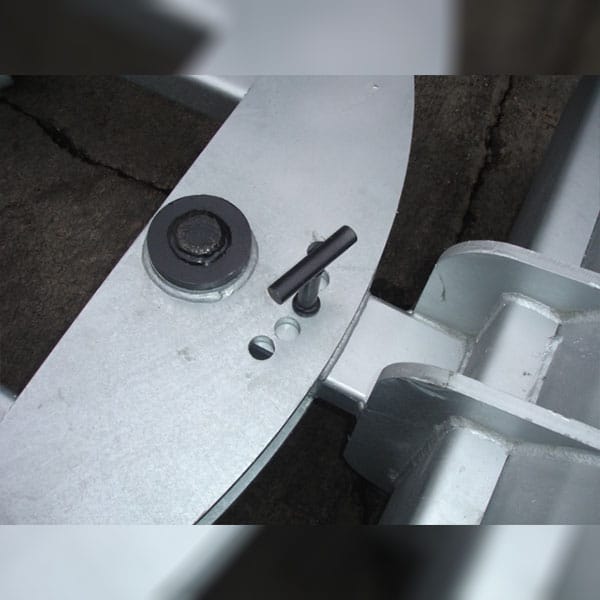
4. Raise Plough clear of the ground and remove adjustment pin
5. Align the predetermined holes to the desired angle for ploughing
6. Refit the adjustment pin to lock the position.
7. Lower the plough to the ground with the blade and castors in contact with the ploughing surface at the same time.
8. The attachment is now ready for use
Maintenance
Maintenance
1. The Fork Mounted Snow Plough should be inspected weekly for general condition with particular attention paid to:
A – All weld points
B – Wear and distortion of
– Fork pockets
– Thumb screws
– Pivot pin
– Adjustment pin
C – Any damaged/worn components
2. Damage or failure must be reported and rectified immediately prior to re-use of the attachment.
3. General surface rusting especially in the critical areas should be treated with proprietary inhibitors, primers and paint on a regular basis.
4. Regular inspection of the wear blade should be made and its position adjusted so as to ensure that the main Snow Blade is clear of wear.
5. After each use clean the plough down with water to remove any salt residue.
Health & Safety
Health and Safety
1. The manager of the department or section where the attachment is to be used must be responsible for ensuring the operators are fully conversant with the attachment, its operation, maintenance and that the thumb screws are fully tightened.
2. Do not drive into the fork pockets without retracting the thumb screws.
3. Do not shock load the attachment under any circumstances.
4. Ensure that the area to be cleared is free of speed humps and/or raised kerbs etc so as to prevent damage to the Snow Plough Blade.
5. Always Plough inline with the gradient of the road surface.
6. Drive the Snow Plough ensuring that the Skids/Castors are in contact with the road surface at all times.
Relevant Applications
- 5 Adjustable ploughing angles 15 and 30 degrees to the left and the right and then straight on
- Detachable bolted steel wear strip
- Rear mounted castors to ensure level scraping
- Zinc plated twist screws for safe attachment to truck
- Maximum fork section 150 x 60 mm at 623 mm centres
- Finished fully galvanized
Standard Features
- Rubber blade insert
